VaporTech® Answers Your 5 Top PVD Coating Hardness Questions
1. What is coating hardness?
Hardness is the crucial parameter in understanding the structural stability of a material you use, whether it's a coating or a solid mass. Specifically, hardness is the relative measure of the superficial physical strength of solid material when external mechanical force is applied. Every solid material has a measurable hardness that tolerates a particular amount of external damaging force exerted during cutting, rubbing, grinding, rolling, etc.
2. Why does coating hardness matter?
Component durability is a key influencing factor in every manufacturing business. Elevating the damage tolerance level of components improves the item’s durability and service longevity. The hardness value indirectly indicates the material's damage tolerance. This value also helps to understand the durability of respective material components in real-world applications.
3. Who evaluates coating hardness?
Hardness evaluation is a key measurement in many industries for these purposes:
- Process & product development. During process development, the hardness evaluation helps design and develop component material.
- In manufacturing, the hardness values guide engineers in making components.
- Quality control. Quality departments evaluate hardness value to maintain the quality of components and ensure consistency.
4. How is coating hardness measured?
The hardness of a material can be evaluated in many ways, depending on the targeted application. In industries, well-defined ISO®/ASTM® ASME® standards are followed to conduct specific hardness testing. Hardness values are measured from the top surface of a material to several nanometers, microns, or millimeters below the surface of the material at various loading/unloading conditions.
This figure illustrates a typical method for measuring the hardness of a material surface, as specified in ISO 14577/ASTM E 2546. Here, material tip A penetrates material B at a specific load, L1, and speed, S1. The hardness of material B is the relative measure of its ability to withstand the damage induced by tip A. The diagram's dotted arcs represent possible damage areas within material B.
The ISO14577/ASTM E2546 method of hardness evaluation.
5. How do you adjust for different applications and materials?
In general, loading and unloading values depend upon the application and materials of interest. The material's more superficial hardness can be evaluated at lower loads. In such conditions, more accurate control of factors such as temperature, contamination, vibration, humidity, and other factors must be maintained during the test. Depending on the testing method, units of hardness values are measured in the Mohs Scale, Vickers Pyramid Numbers (HV), or Pascals. The table below shows the hardness values of carbon in its graphite and diamond forms.
| Carbon Form | Mohs Scale | Vickers |
| Graphite (Soft) | 1-2 | 7-11 |
| Diamond (Very Hard) | 10 | 10000 |
The hardness of carbon in its graphitic and diamond form.
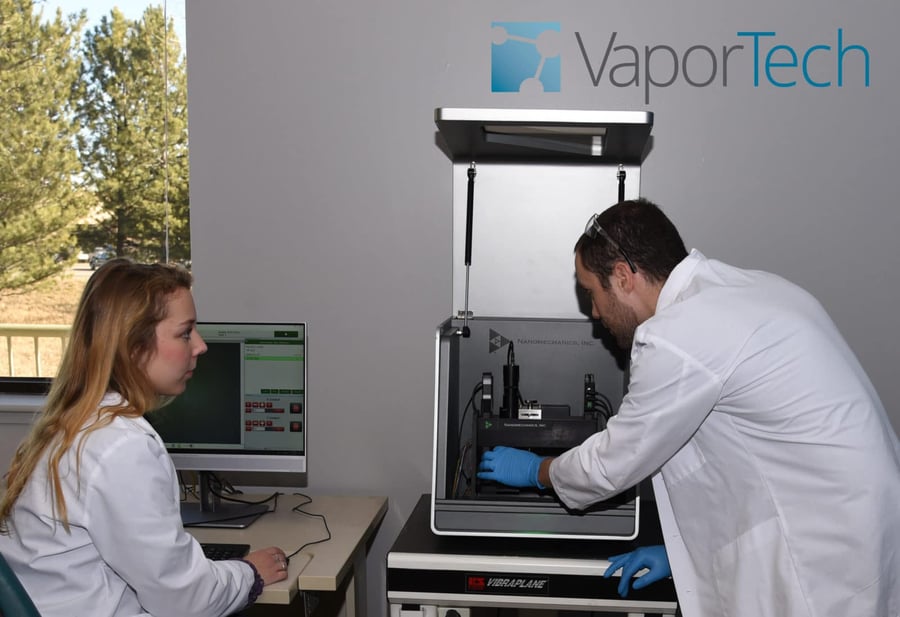
At Vapor Technologies, Inc. (VaporTech®), our R&D lab conducts extensive testing for each optimized coating recipe. In addition to hardness, we test and optimize for composition, structure, appearance, mechanical properties (for functional coatings), and corrosion. Our coating development and optimization services create the recipes that your VaporTech® coating system uses to create specific coatings. Once we load the recipes, the operator simply needs to press a button to switch to a different coating recipe.
ISO® is a registered trademark of the International Organization for Standardization.
ASTM® is a registered trademark of the American Society for Testing Materials.
ASME® is a registered trademark of the American Society of Mechanical Engineers.

PVD Coating Machine Case Study: Faucet Manufacturer Improves ROI With VaporTech Coating Machine

3 Reasons to Consider the VT-1500i PVD Coating System


